
Design
May 6, 2026
How I Created a Mentorship Chatbot In Two Days
From the idea to the implementation in two days . I created the first chatbot to run a mentorship program.
Category
Design
Reading Time
8
Date
The Idea
My initial idea was simple: build a mentorship program for my new project, Offload — a community supporting new moms looking to relaunch or pivot their careers. I wanted to run it through a messenger app so that mentors and mentees could register and participate directly inside Discord.
The Setup
My goal was to take the existing Discord server I'd already set up for the community and add a bot to handle mentorship registrations and matching. I chose Discord because I knew it supported this kind of bot — though I'd love to explore building something similar for other messengers down the line.
So I went ahead and created a bot inside the existing project to manage sign-ups and pair mentees with mentors. But, as you might expect, I quickly ran into limitations that forced me to get creative.
The Limitations
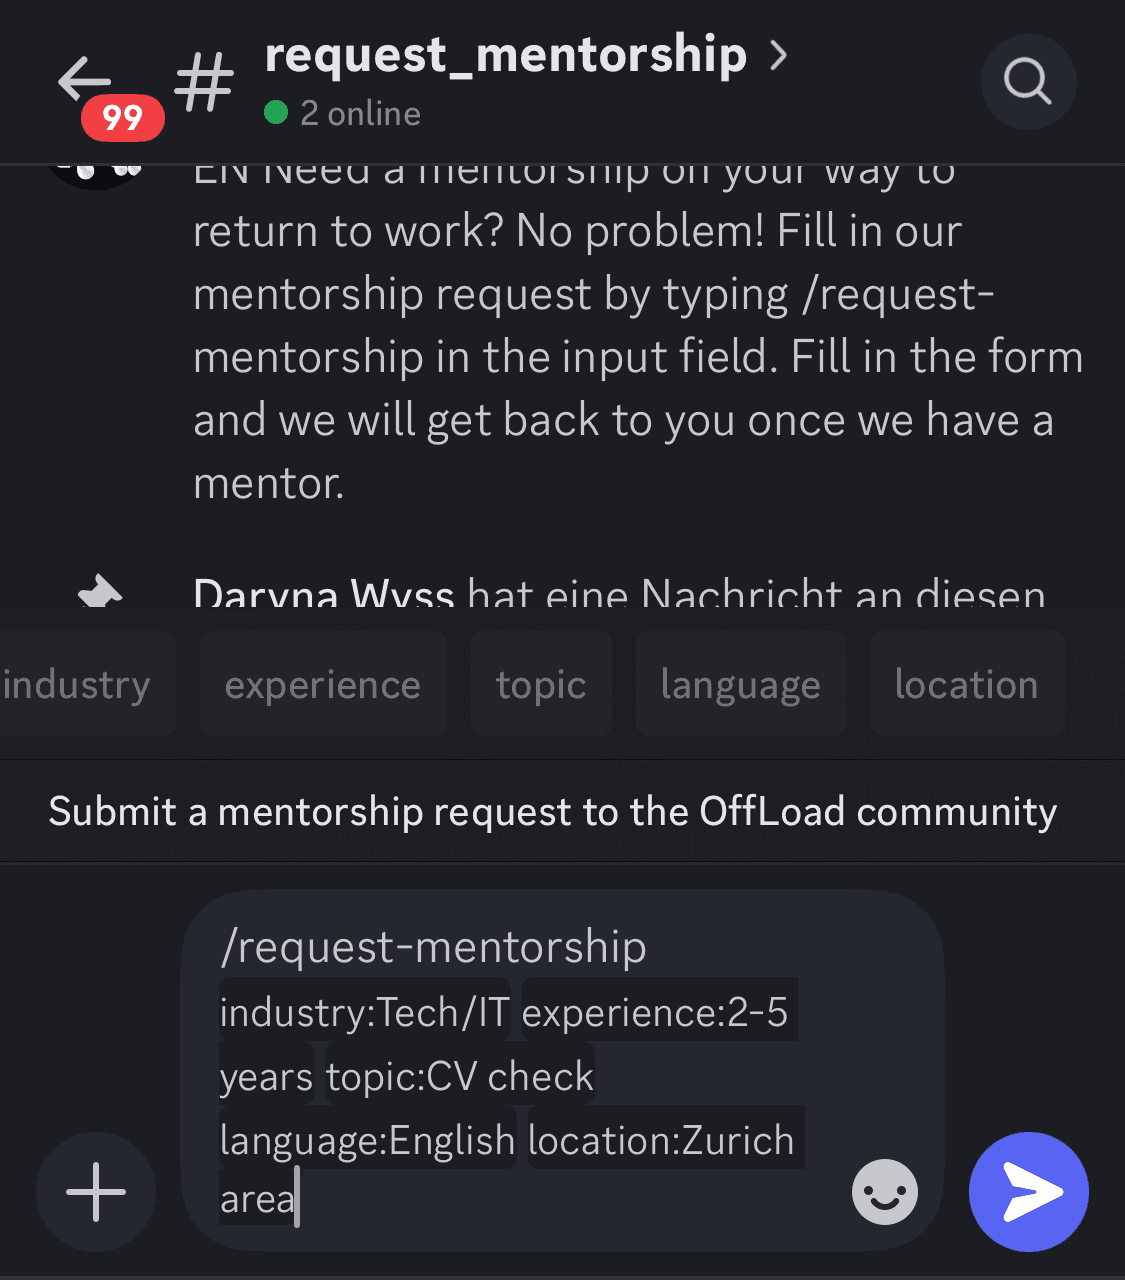
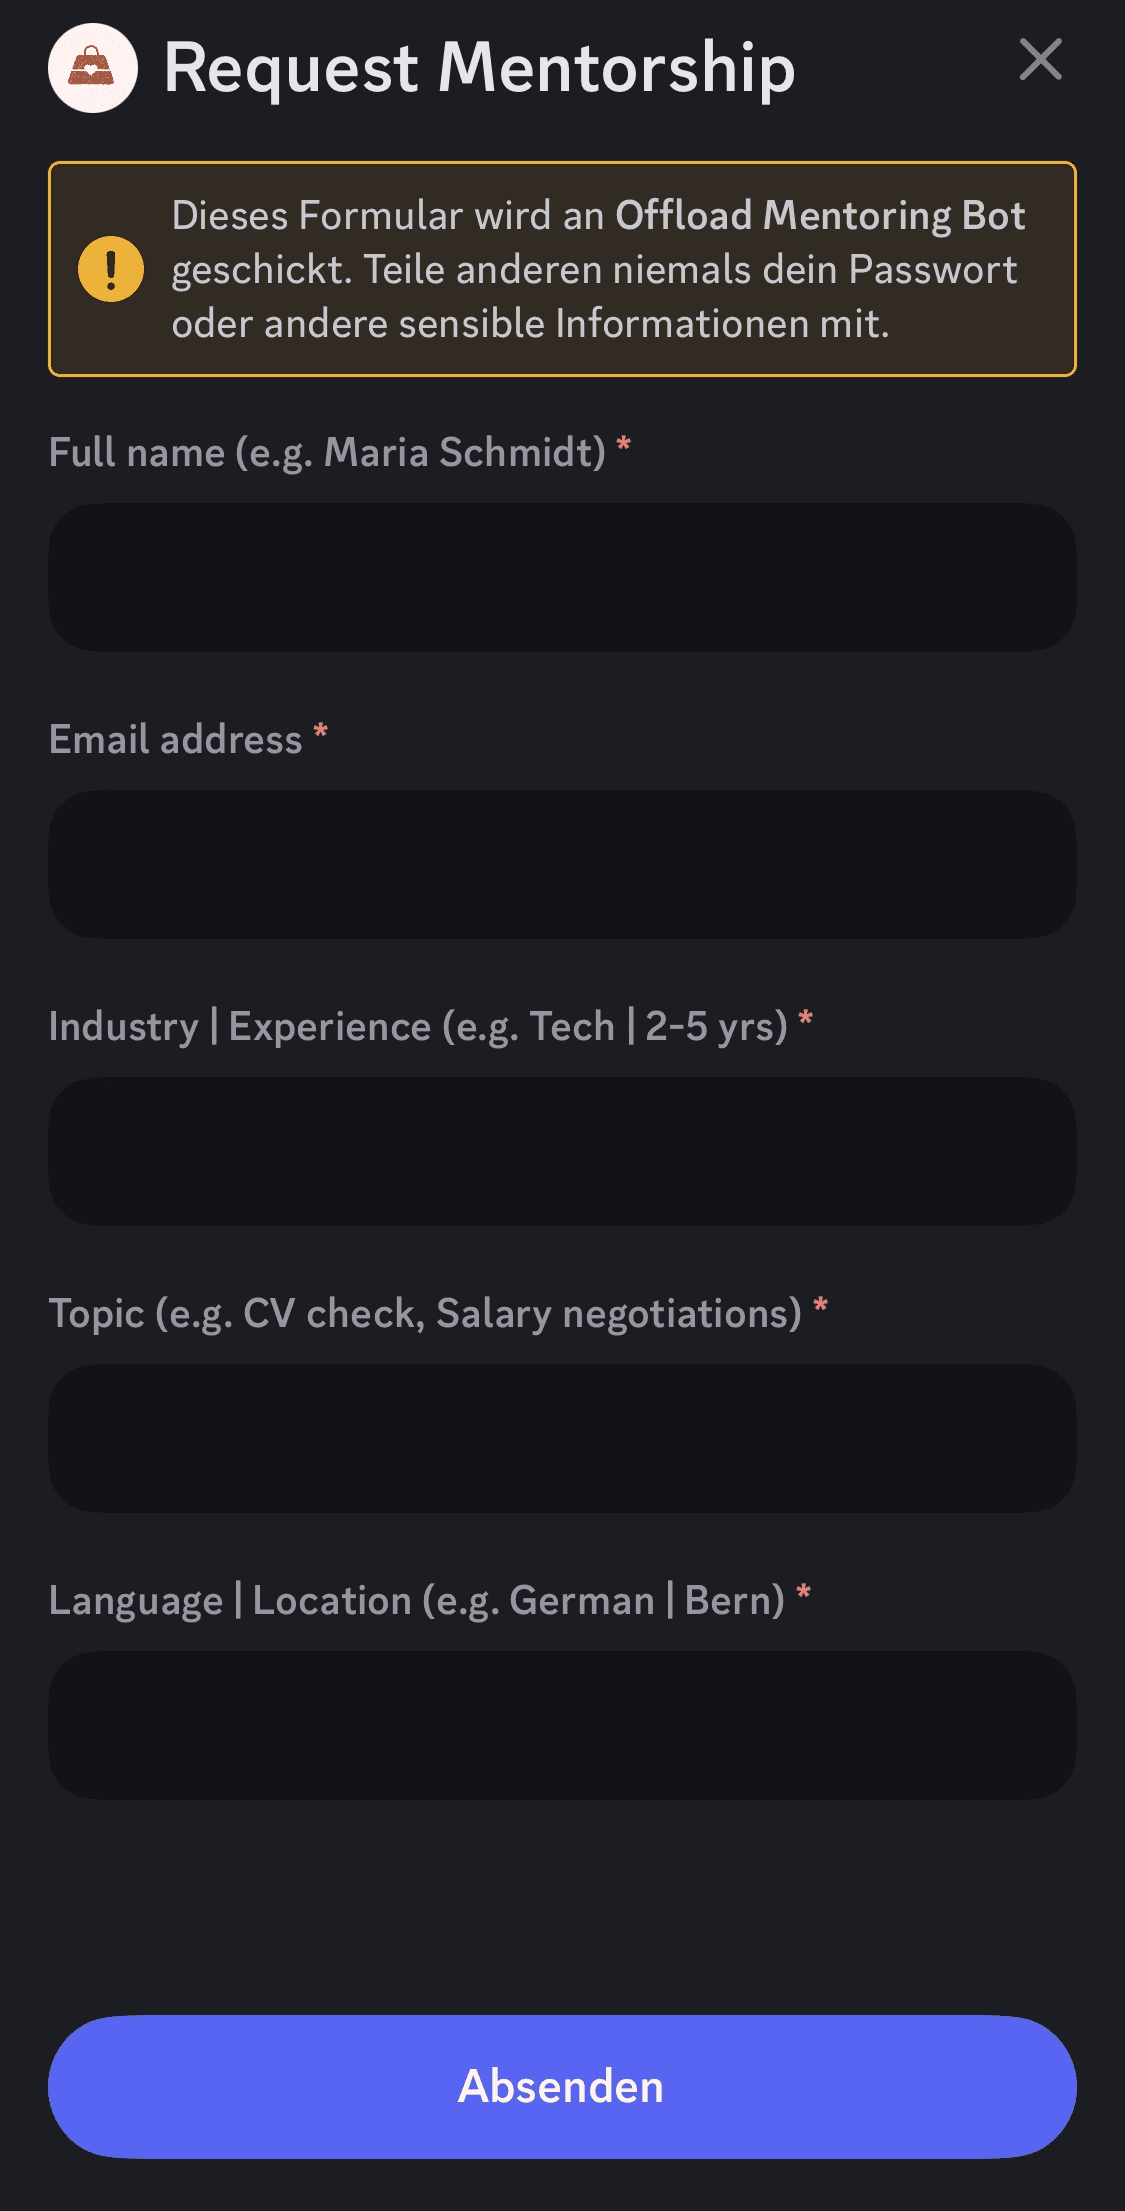
Once I started learning how Discord bots actually work, I was a little disappointed by the constraints. The bot has to be triggered by a slash command typed into the text field. It can open a popup with input fields, but that popup is capped at five fields — so I had to choose them very carefully. :-) Dropdowns aren't allowed inside popups either; they only work in inline text inputs, which I found pretty user-unfriendly. So I started looking for ways to make it easier for users to launch the bot and submit their information.
The Solutions
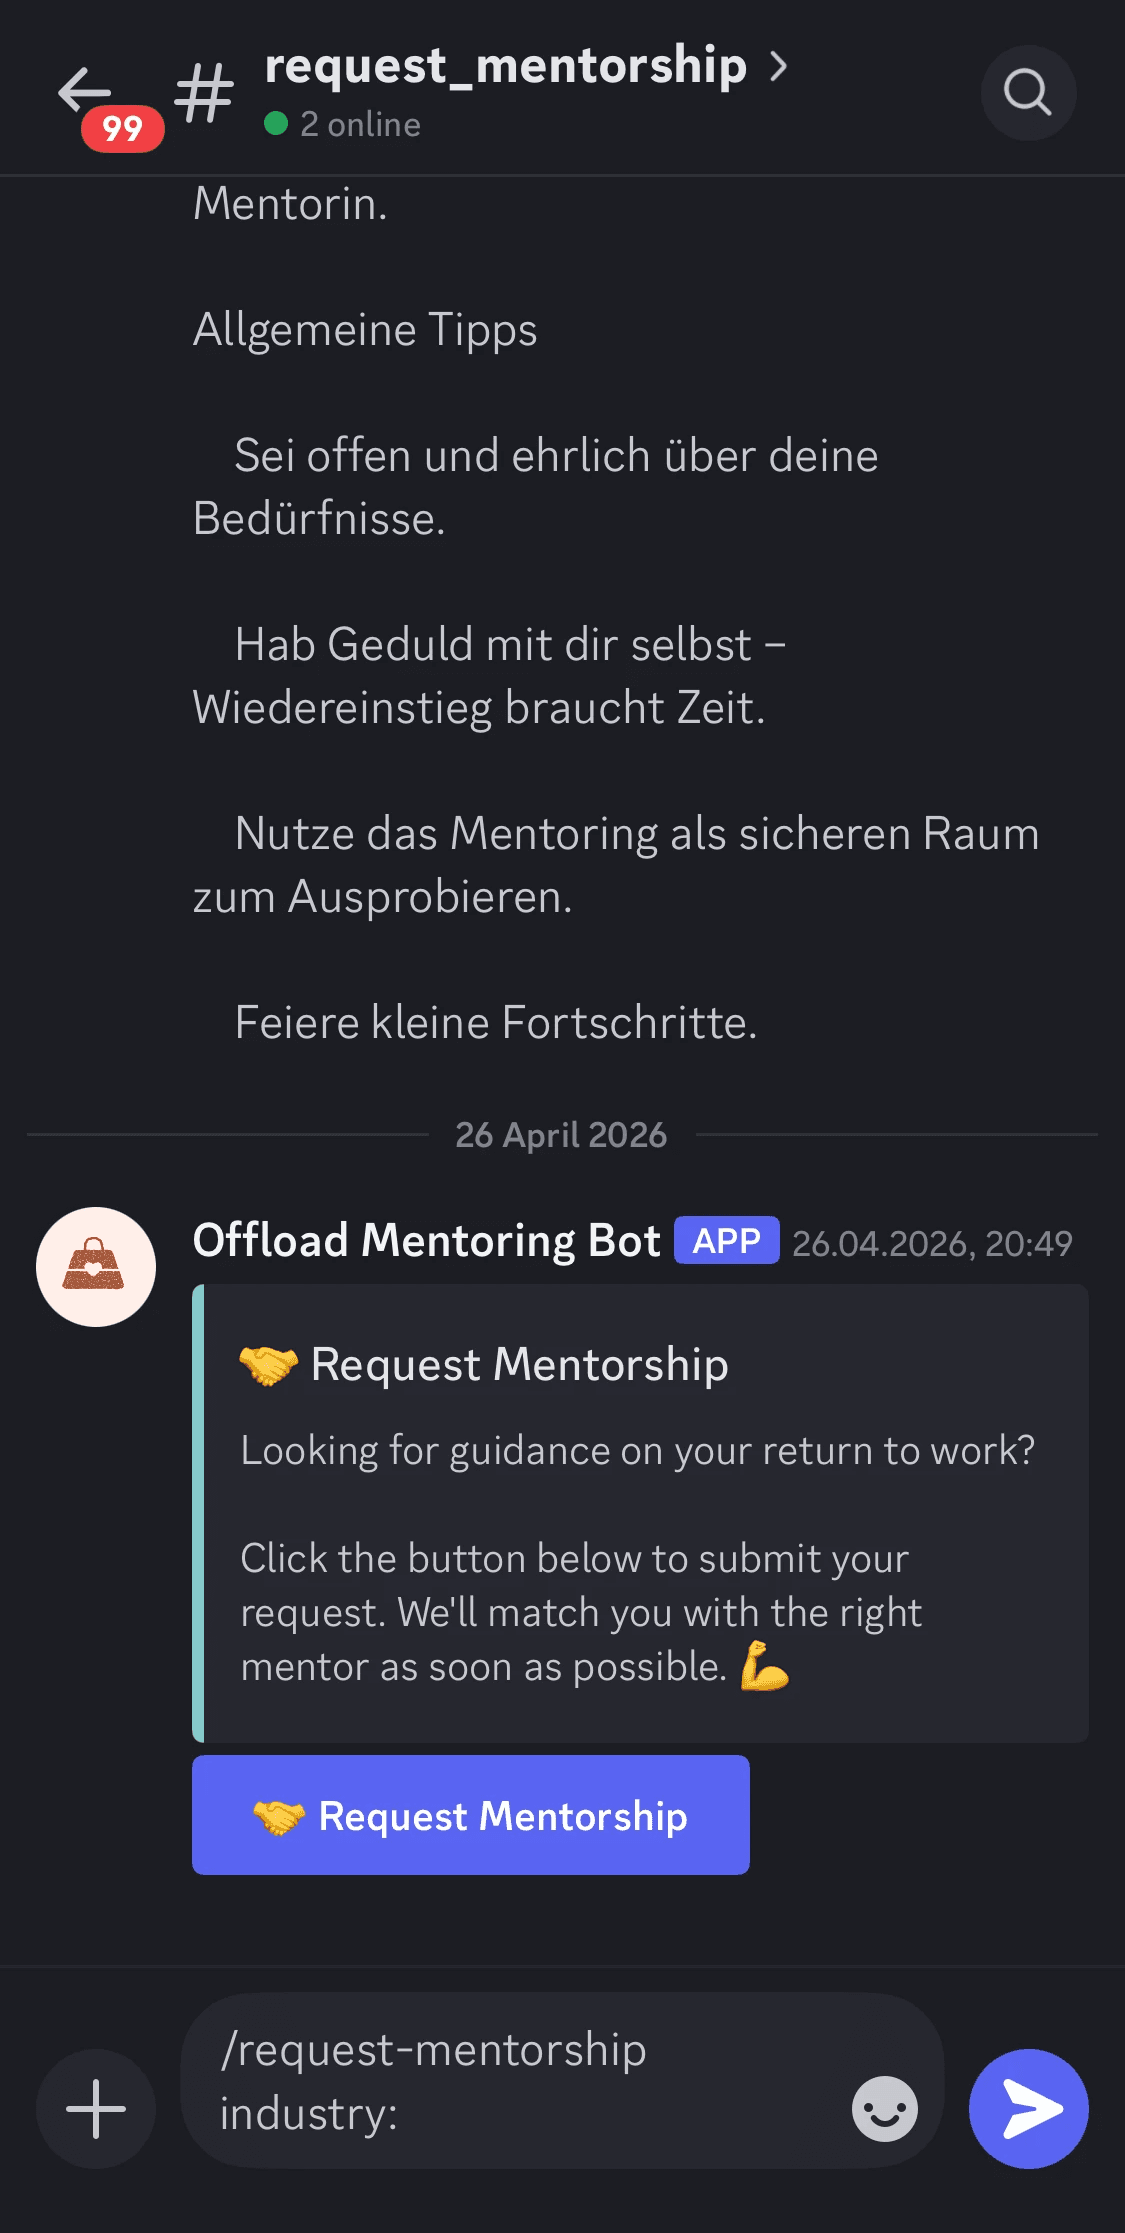
First things first: I wanted users to be able to find and start the bot quickly. By default the bot could be triggered from any channel on the server, but I wanted to make its purpose obvious. So I created two dedicated channels — #request-mentorship and #become-mentor — so it's immediately clear where to go. Then I had to restrict permissions so the bot could only be launched from these channels, and so users couldn't post messages there directly (which keeps things tidy and easy to scan). Discord's admin panel makes access rights genuinely confusing to navigate, but I managed to configure everything the way I wanted.
Grouping channels by topic also helps with overview and creates a clear hierarchy.
Next, I discovered that bots can also be triggered by clicking a button on a pinned message — a much friendlier option than typing slash commands. So I wrote the pinned messages, added the buttons, and pinned the rules and quick instructions right above them. It turns out UX writing plays a huge role in designing a bot. :-)
Then came the actual input popup. As mentioned, dropdowns weren't an option, so I had to rely on free text fields (and only five of them). Honestly, though, free text might work better for the matching process anyway: users describe themselves in their own words, which is less structured but more revealing. It's also a nice way to learn what users actually need, compared to a predefined list of dropdown values.
Once a user submits the form, their data is stored in a table, the matching algorithm finds suitable mentor–mentee pairings, and a DM goes out to both parties when there's a match. And again — clear, friendly copy makes a real difference to the experience here. :-)

The learnings
And just like that, I built a working mentorship chatbot in two days! Even when you can't fully control the UI on a third-party platform, there's a lot you can do with clear naming, smart permissions, and especially UX copy to shape the experience. UX writing wins again. I am still working on the copy and matching logic, but just to be able to create the working bot in two days and get creative is what really inspired me.
Related Articles

